
Textures of a Forest
When I toured my current rental house, what sold me on it wasn’t the location, price, or floor plan. No, it was when I stepped into the backyard to discover two massive Douglas firs standing back there as they have been for the past 100+ years. They stand no more than five feet apart atop a soft mound of generations-old duff. I love these trees in all their droopy-branched glory, how the lower limbs bend to almost kiss the ground whenever there’s a strong breeze off the Puget Sound. Or how vibrant green tufts of new needles appear each spring, making me wonder how many variations of green exist on our little rock of a planet.
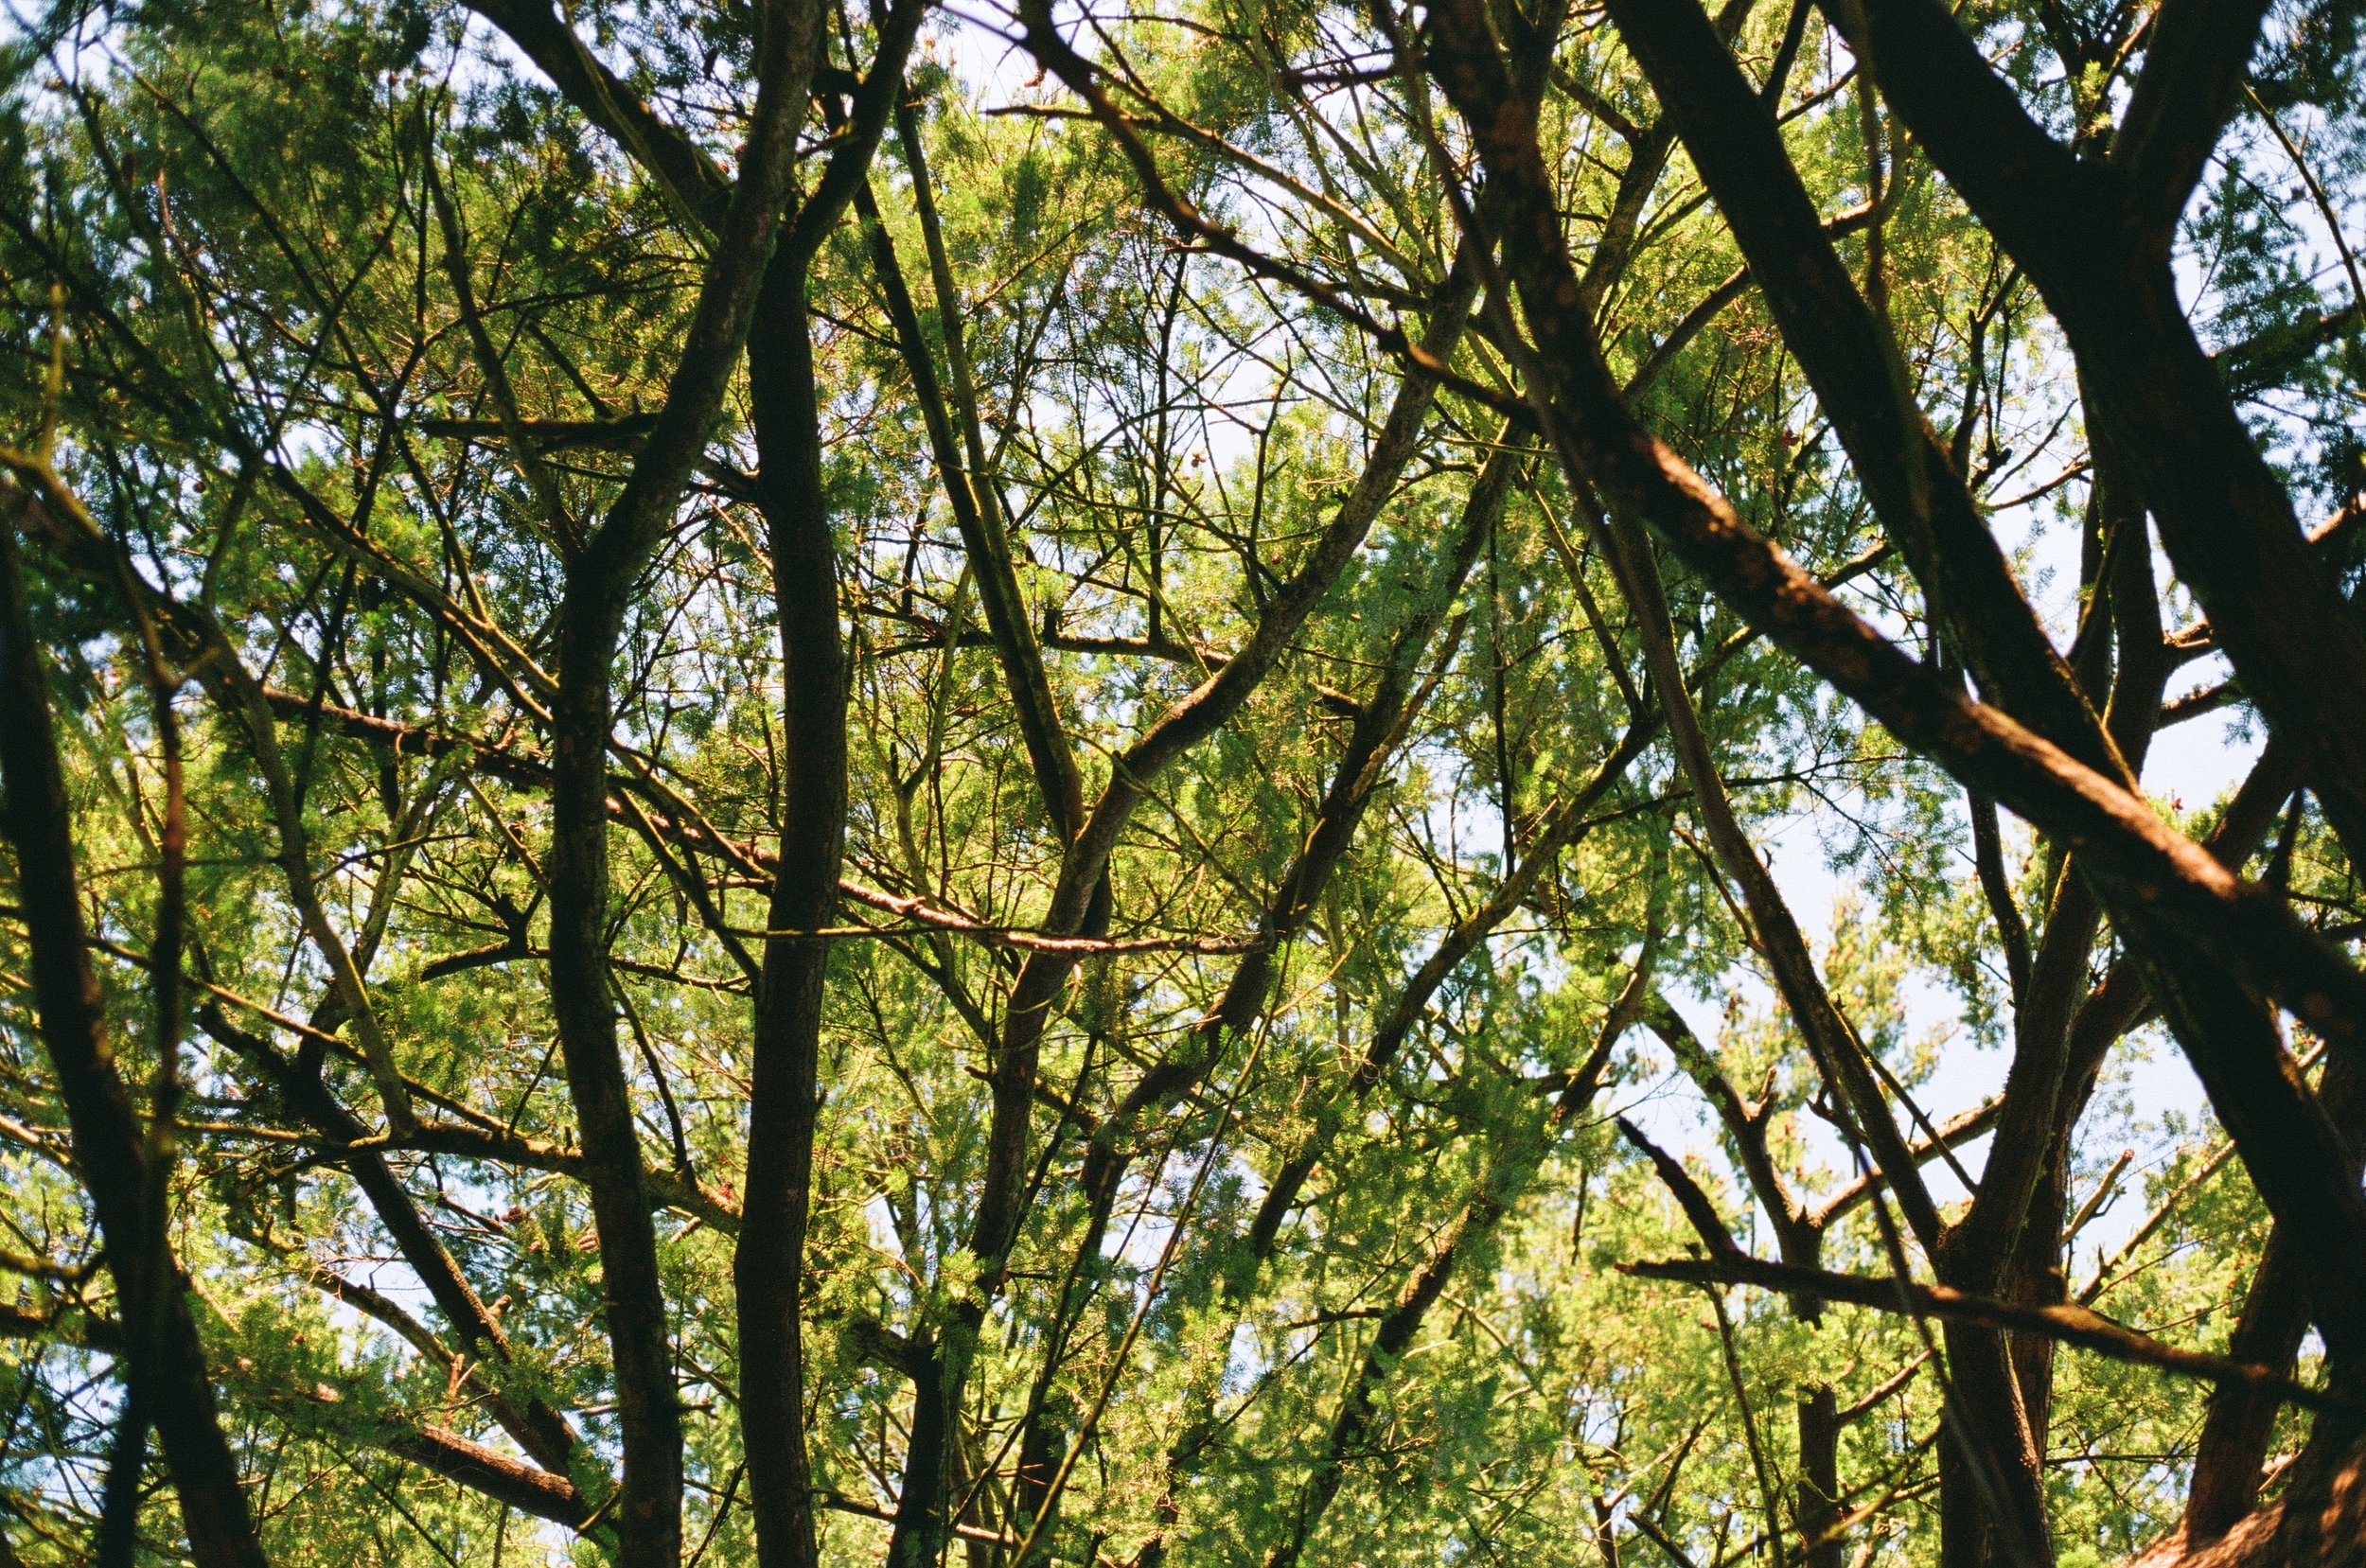
Photo courtesy of Christine Upton
But most of all, I love their bark. I sit and stare at these trees every day from my kitchen table and my eye is always drawn to the crags and fissures that line each trunk. I imagine how it would feel to climb each tree using only the deep ridges of bark as my hand and footholds. It reminds me of the split crust of a rustic round of bread or the deeply unique lines that contour our palms. The patterns, repetitions, whorls, and arrangements of all the separate parts that make up a tree fascinate me. I love zooming in, refining my field of vision until the parts of the whole are all I can see.

Photo courtesy of Christine Upton
Textures of old-growth forests are everywhere if you look closely enough. Yes, you have the brash, in-your-face textures like bark or leaf structures, but they can be much less noticeable than that. I was recently gifted my first 35mm film camera, and it has given me an avenue with which to document the textures of nature that I’ve always been obsessed with. Whether I’m visiting the twin Doug firs in my backyard or exploring a destination forest, I’m always on the lookout for the tiny, intricate details that make up the larger pattern. Here’s a way for you to join me in documenting the textures of a forest.
Step 1: Be still
I once had a professor who would pause for many, many heartbeats before reading something out loud. It was for a seminar-style creative writing course, so we had to take turns reading out loud selections from that week’s reading homework or presenting our own work for feedback. He explained that it gives both the audience and reader time to settle in, adjust their chair, and expel a last-minute cough, but most importantly, it helps to shift everyone’s mind into a state of readiness to receive.
To this day I still practice this before reading out loud, be it a poem or passage, and I encourage you to do as well before beginning your study on texture. Once you step into a forest, you may unconsciously take a deep breath or you may notice your heart rate slowing down, but to consciously move your busy mind into an open state, ready to be fully present, may mean you’ll be more likely to observe the patchwork lacey pattern of lichen or a grouping of tiny mushrooms. Take three deep belly breaths, exhaling slowly, noticing the smells and sounds that surround you. There. Now you are ready.

Photo courtesy of Christine Upton
Step 2: Begin
Amble. Ramble. Wander. Observe. Repeat.
There is no other goal other than to take in your surroundings and spend time doing so. Too often I am on a mission and want to get from point A to point B, but marvelous things can pop out at you when you stop and look around. Spend ten minutes in one spot, seeing all there is to see. Next, move ten inches, either forward or backward or to the side, and spend another ten minutes looking around. What changed? Did you observe something new? Chances are good that yes, you will see something you missed during your first ten-minute look around. Allow your eyes to focus and unfocus, like the zoom of a camera. The textures of the forest will appear in layers and gradations, just like a Magic Eye image.
Children have the right of it when experiencing a forest. They wander around in amazement at every little thing that they find, no matter how seemingly ordinary it might look to someone a bit older. Take your cues from little kids. If you are able, change something about the way your body receives inputs, either by crouching down, turning your head sideways, sitting on a bench, or closing one eye. Get up close and personal with the different features of a forest. Examine the back of a leaf with a loop or the zoom function on your phone or a magnifying glass. Touch the thick layer of pine dander with the palm of your hand and imagine what could possibly lay underneath.

Photo courtesy of Christine Upton
Step 3: Document
There is no wrong way to document the textures you find. Memorize them and etch each line onto your heart. Take a photo, whether it’s a phone, digital, or film camera. Try your hand at making a short movie with film clips of the textures you found to be most profound. Take a large sheet of newsprint paper and some chunky charcoal with you and gently produce a rubbing from bark or stone or leaves. Create a travel-size watercolor kit and use it to create a study of the gills of mushrooms. Write poetry or short stories about the textures you find. Again, there is no wrong way (except for not doing it at all).
Step 4: Repeat
Let this become a habit for you, this art of documenting texture. Frame your photos or artwork. Host a reading event for friends and family to speak your words about forest textures out into the world (as long as you promise to pause for several heartbeats before beginning). Even if you visit the same forest 1,000 times, you will find something new each time.

Photo courtesy of Christine Upton
All photos were taken by Christine Upton on a 1983 Canon AE-1.